
1. Surface Preparation:
- Cleanliness:
- Ensure the surface is completely clean, free from dust, dirt, grease, and any loose particles.
- If tiling over existing tiles, roughen the surface to improve adhesion.
- Leveling:
- Check the surface for levelness. Uneven surfaces can lead to problems later.
- Repair any cracks or uneven areas.
- Priming:
- In some cases, especially on porous surfaces, a primer may be necessary. Follow the adhesive manufacturer’s recommendations.
2. Mixing the Adhesive:
- Manufacturer’s Instructions:
- Always follow the manufacturer’s instructions for mixing ratios and techniques.
- Use clean water and a clean container.
- Consistency:
- Mix the adhesive to a smooth, consistent paste. Avoid lumps.
- A mixing drill with a mixing paddle can be very helpful.
- Resting:
- Some adhesives require a resting period after the initial mix, followed by a re-mix.
3. Applying the Adhesive:
- Notched Trowel:
- Use the correct size and type of notched trowel for the tile size and type. The trowel’s notches create ridges that ensure proper adhesion.
- The larger the tile the larger the notch on the trowel should be.
- Even Application:
- Apply the adhesive evenly to the surface, holding the trowel at a consistent angle.
- Apply the adhesive in one direction.
- Working in Sections:
- Work in small sections to prevent the adhesive from drying before the tiles are placed.
- Double Buttering:
- For large format tiles it is recommended to “double butter” the tiles. This means that you apply adhesive to the back of the tile, as well as the surface that the tile is being placed on.
4. Setting the Tiles:
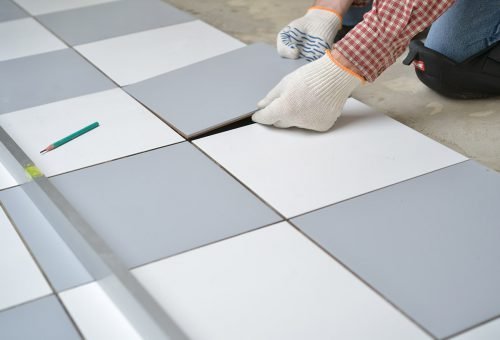
- Placement:
- Press the tiles firmly into the adhesive, using a slight twisting motion to ensure good contact.
- Tile Spacers:
- Use tile spacers to maintain consistent grout lines.
- Leveling:
- Use a spirit level to ensure the tiles are level. Gently tap the tiles with a rubber mallet to adjust their position.
- Checking coverage:
- Periodically lift a tile to make sure that there is proper adhesive coverage on the back of the tile.
5. Curing and Grouting:
- Curing Time:
- Allow the adhesive to cure for the recommended time (usually 24-48 hours) before grouting.
- Grouting:
- Once the adhesive is cured, apply grout to fill the joints between the tiles.
- Cleaning:
- Clean up excess adhesive from the tile faces before it hardens.
Key Considerations:
- Tile Type:
- Different tile types (ceramic, porcelain, natural stone) may require different adhesives.
- Environmental Conditions:
- Temperature and humidity can affect the adhesive’s drying time.